Back to Main Docs
© Copyright 2019 - Enlite Prime
Brand/Project Name
- Open
app/api/dummy/brand.js -
Here's bellow the available brand attribute
module.exports = { name: 'Enlite Prime', desc: 'Enlite Prime - React.js Fullstack Template', prefix: 'enlite', footerText: 'Enlite Prime All Rights Reserved 2019', logoText: 'Enlite Prime', }; - Those attribute will affect in HTML ‹head› content and other branding name
Change Layout(RTL) and Theme
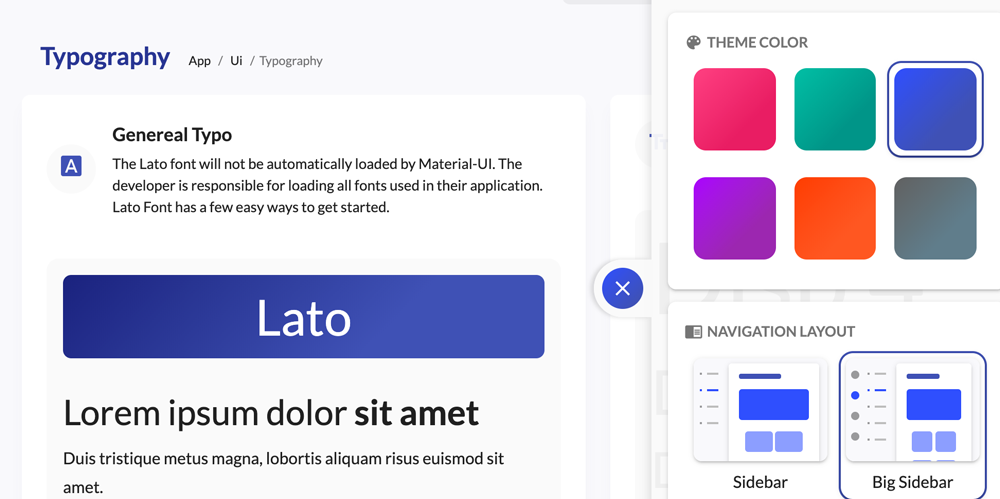
This template has 6 Themes with dark/light appearance and 4 layouts mode base on navigation menu (Sidebar, Big Sidebar, Top Dropdown Menu and Mega menu). And also support for RTL direction. You can change the layout via theme panel but not permanently. To make the layout permanent just follow this step.
- Open
app/redux/modules/uiReducer.js -
Then change the
initialStatevalue. Here's the available api:Key Type Available Value Example theme:String 'redTheme','blueTheme',
'greenTheme','purpleTheme',
'orangeTheme','greyTheme',theme: 'greenTheme'layout:String 'left-sidebar','right-sidebar','top-navigation','mega-menu',layout: 'left-sidebartype:String 'light','dark',type: 'dark'direction:String ltr,rtl
For RTL as default layout, please set up the HTML attribute as well. In/app/index.htmlplease adddir="rtl
<html lang="ar" dir="rtl">direction: 'rtl'
Here's the complete code// file: app/redux/modules/uiReducer.js const initialState = { /* Settings for Themes and layout */ theme: 'redTheme', type: 'light', // light or dark direction: 'ltr', // ltr or rtl layout: 'big-sidebar', // sidebar, big-sidebar, top-navigation, mega-menu /* End settings */ palette: List([ { name: 'Red', value: 'redTheme' }, { name: 'Green', value: 'greenTheme' }, { name: 'Blue', value: 'blueTheme' }, { name: 'Purple', value: 'purpleTheme' }, { name: 'Orange', value: 'orangeTheme' }, { name: 'Grey', value: 'greyTheme' }, ]), sidebarOpen: true, pageLoaded: false, subMenuOpen: [] };
Permanent UI Setting
All UI configuration above will be reseted once page reload. To make it permanent you can store the config in local storage with redux-persist plugins.
- Open
app/redux/configureStore.js -
In
persistConfig.whitelistadd the reducer name['ui']// file: app/redux/configureStore.js const persistConfig = { key: 'dandelion', storage, whitelist: ['ui'] }; - Make some UI changes, i.e dark-mode then reload the browser, then ui changes will be persisted.
- Note: you can also add another reducer name to
whitelistto save the state in local storage. If you want to reset them, just clear the local storage.
Theme Palette Color
This theme has two theme mode, dark and light. To change default color you can find in
- Light mode:
app/api/palette/lightPalette.js - Dark mode:
app/api/palette/darkPalette.js
Every kind of themes has two palette, there are primary and secondary within light, main, dark and contrastText. Just change the value as you like. In example if you want to change purpleRedTheme in dark mode
// app/api/palette/darkPalette.js
purpleRedTheme: {
  palette: {
    primary: {
      light: '#EDE7F6',
      main: '#673AB7',
      dark: '#512DA8',
      contrastText: '#fff',
    },
    secondary: {
      light: '#FCE4EC',
      main: '#EC407A',
      dark: '#C2185B',
      contrastText: '#fff',
    },
  },
},
UI Redux Architecture
This is UI architecture in diagram visuailzation. Click diagram or full screen button  to show in new tab with full screen
Set Language
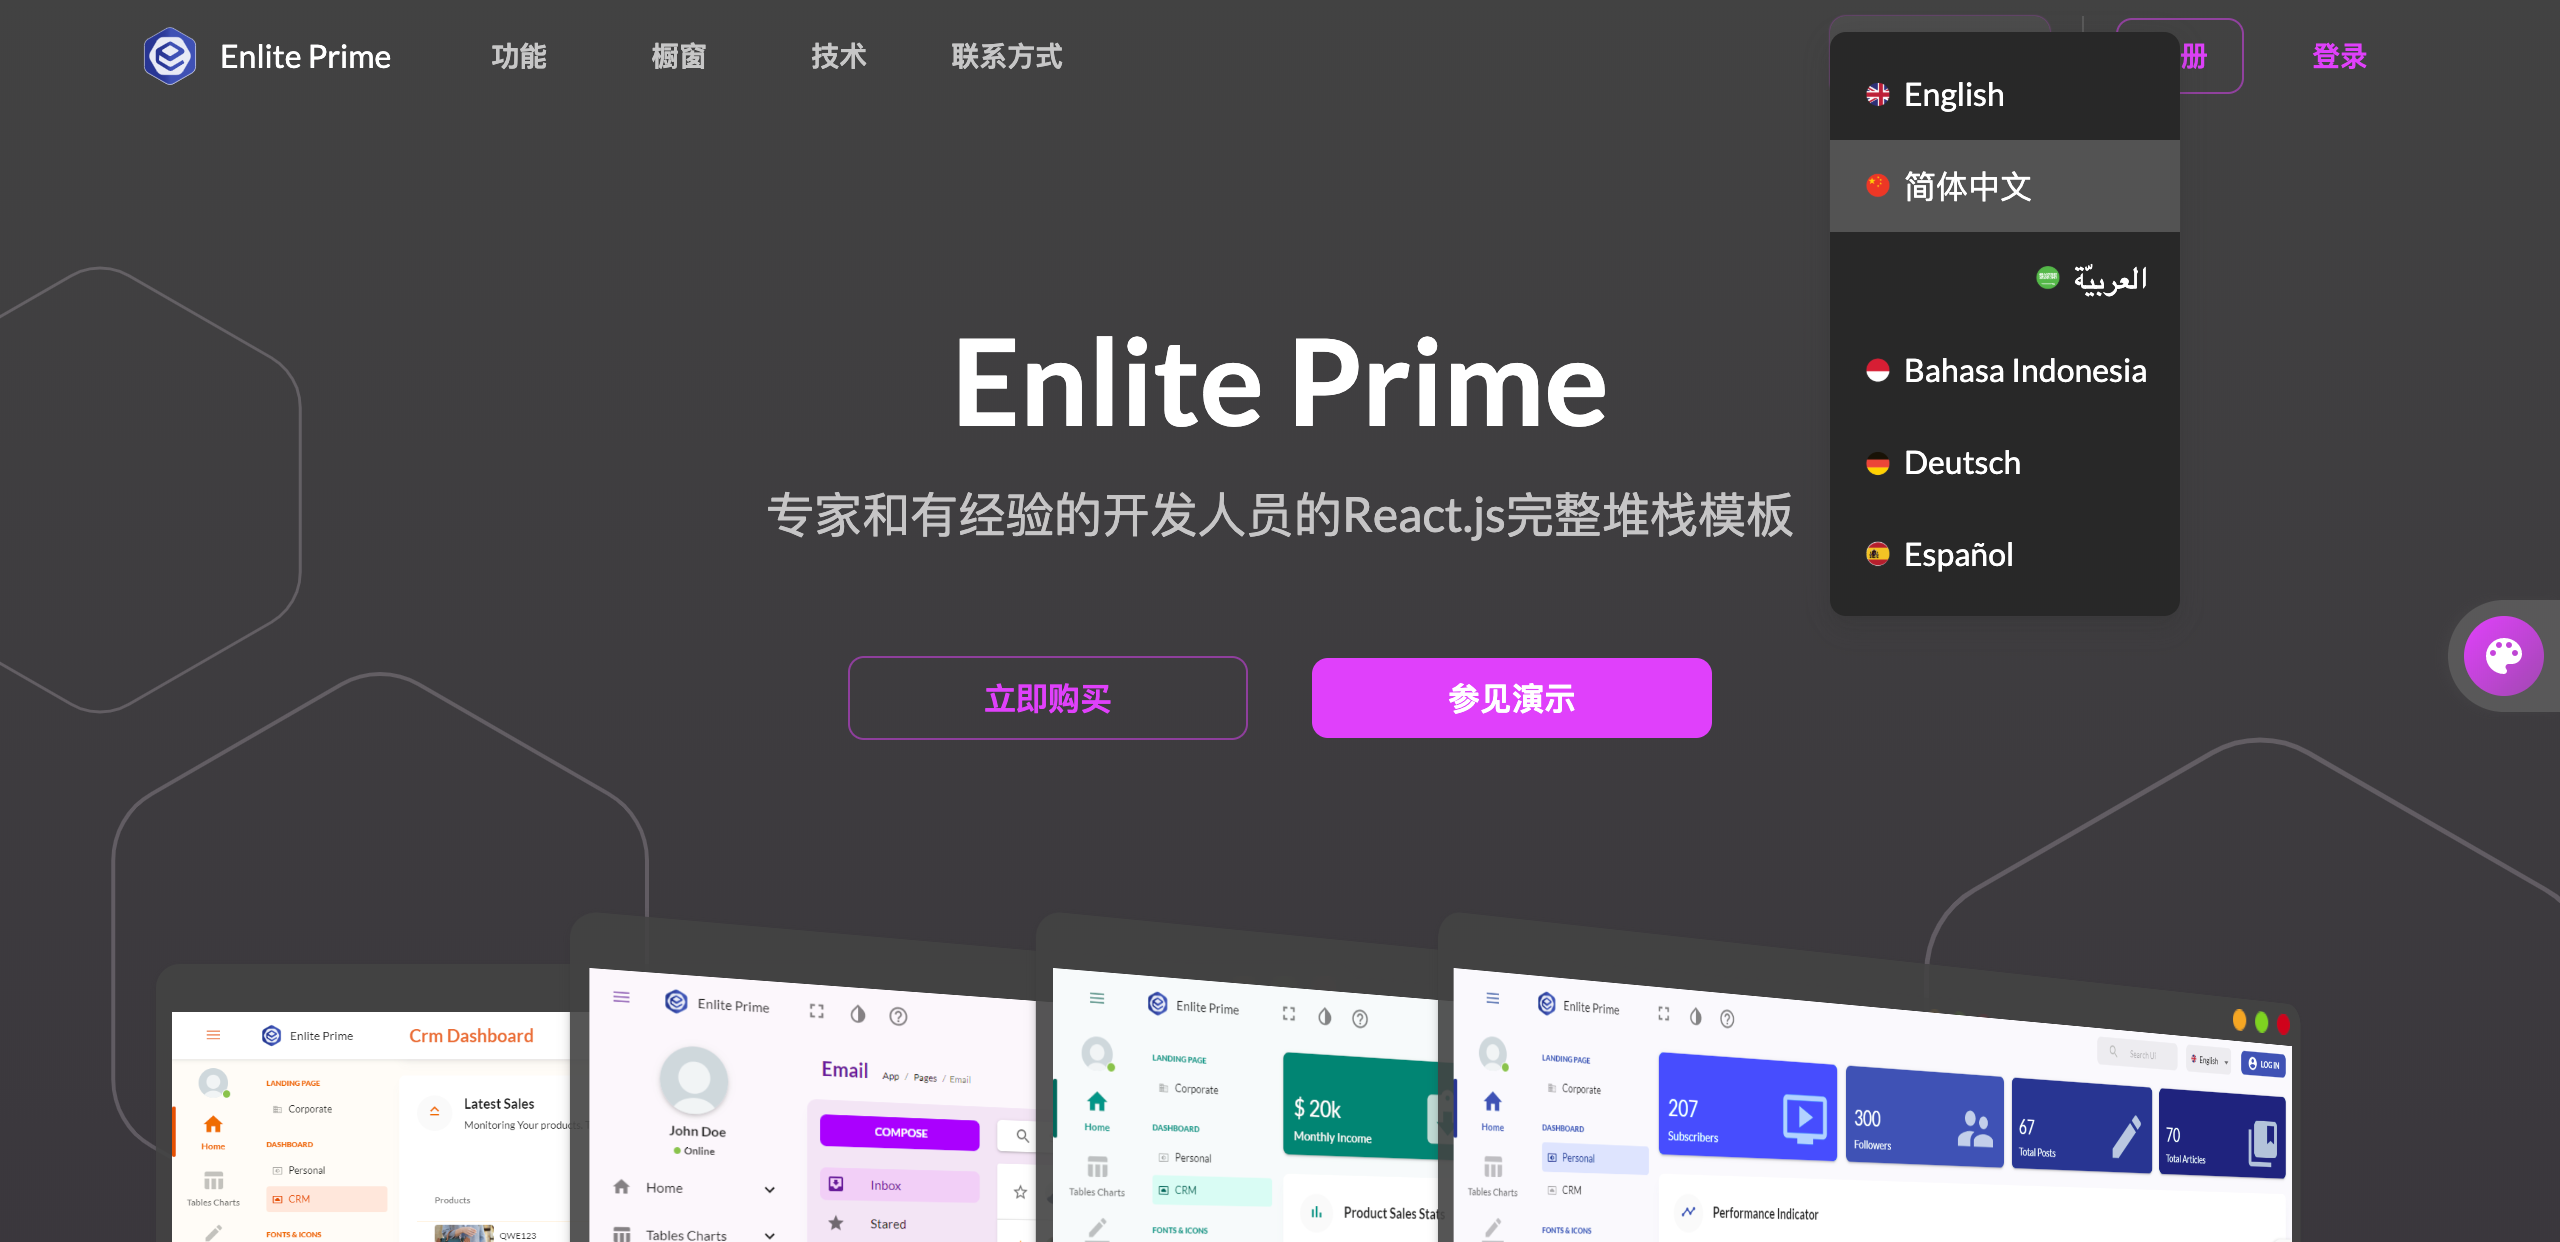
-
To set default language
- Open
app/i18n.js - change
const DEFAULT_LOCALE = 'en';to other initial locale i.e.idfor Bahasa Indonesia
- Open
-
Add new language
-
Define the masssages for a component. Sample messages:
// messages.js /* * Todo App Messages * * This contains all the text for the Todo App. */ import { defineMessages } from 'react-intl'; export const scope = 'boilerplate.components.Todo'; export default defineMessages({ title: { id: `${scope}.title`, defaultMessage: 'To Do Apps', }, subtitle: { id: `${scope}.subtitle`, defaultMessage: 'All Your to do list. Just check it whenever You done.', }, placeholder: { id: `${scope}.placeholder`, defaultMessage: 'What needs to be done?', }, hint: { id: `${scope}.hint`, defaultMessage: 'Press enter to submit task', }, view_all: { id: `${scope}.filter.view_all`, defaultMessage: 'View All', }, active: { id: `${scope}.filter.active`, defaultMessage: 'Active', }, completed: { id: `${scope}.filter.completed`, defaultMessage: 'Completed', }, }); - Save file with name i.e
messages.js - Create new language JSON library in
app/translation - Then register it in
app/i18n.js -
Put the messages to the React Components
- Pick one of sample Components with cointaining text
- Import file message
import messages from './messages'; -
Import
react-intlimport { injectIntl, intlShape, FormattedMessage } from 'react-intl'; - Basically the message value is String. And next step is replace/add every string in components
-
Register
intlto propsintl: intlShape.isRequired -
Add messages inside components
<YourComponent> <FormattedMessage {...messages[item.key]} /> </YourComponent> -
Add messages as component attribute/prop
<YourComponent text={intl.formatMessage(messages[item.key])} /> -
The last step, wrap the component with
injectIntl -
export default injectIntl(Sidebar);
-
Define the masssages for a component. Sample messages: