-

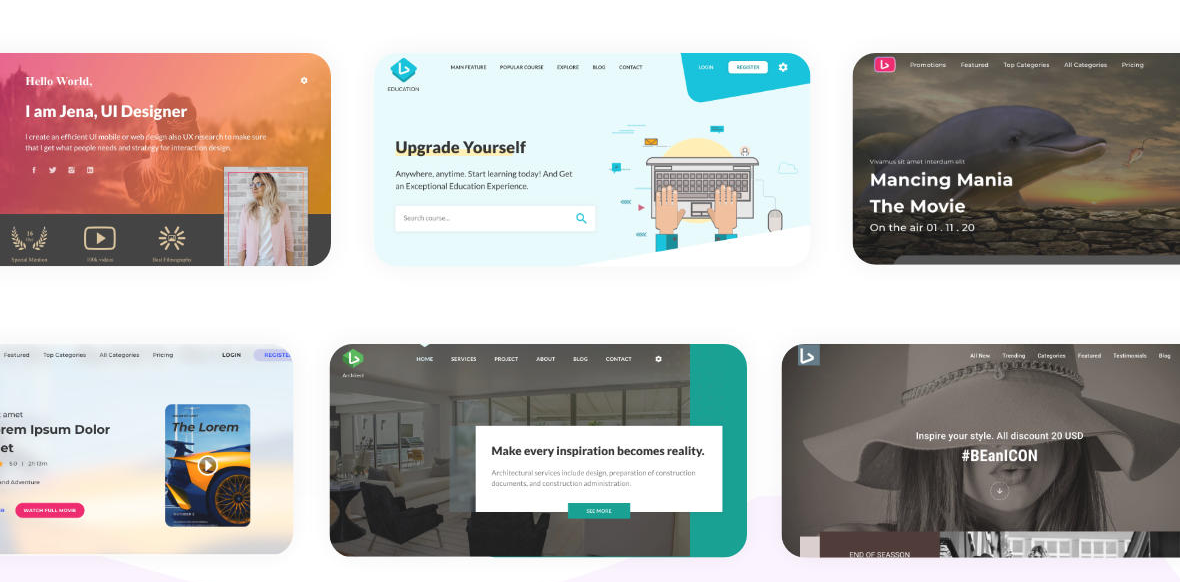
- Create Page and Component
- Brand/Project Name
- Navigation Menu
- Change Theme and Layout(RTL)
- Youtube Config
- Set Language
Create New Page
- In example we will create an "About" page in "star-project" by adding the following content to
starter-project/src/pug/pages/about.pug -
extends ../layouts/app.pug block variables - var pageTitle = " - About" block content div #home .main-wrap include ../components/header/header.pug +header(true) .container-wrap.py-10.py-sm-4 section.space-top.space-bottom h2.display-3.text-center.mb-4 About Us section.space-top include ../components/footer.pug -
Generate the HTML
gulp build -
It will generate file about.html in root directory.
-
And watch the changes result
gulp - Then we can access that page with http://localhost:9000/about
Create New Component
- Go to
src/pug/components/ - Create new file
hello.pug -
In that file create a simple code
// file: /src/pug/components/hello.pug div h4 Hello World h5.display-1.text-center Lorem ipsum dolor sit amet, consectetur adipiscing elit. p Vestibulum dignissim orci vitae eros rutrum euismod. Vestibulum tempor, sem et molestie egestas, dui tortor laoreet tellus, id rhoncus mauris neque malesuada augue. Duis tristique metus magna, lobortis aliquam risus euismod sit amet. p Suspendisse porttitor velit nisl, feugiat tincidunt nisl mattis ut. Nulla lobortis nunc vitae nisi semper semper. Sed mi neque, convallis at ipsum at, blandit pretium enim. Nunc quis sem quis velit tincidunt congue a sit amet ante. In hac habitasse platea dictumst. - Open a target page where you want use it. Ex: Open
src/pug/pages/about.pug. (Example page that we've made in previous section) -
Then include it inside template
include ../components/hello.pug -
Here's complete code
// file: src/pug/pages/about.pug extends ../layouts/app.pug block variables - var pageTitle = " - About" block content div #home .main-wrap include ../components/header/header.pug +header(true) .container-wrap.py-10.py-sm-4 section.space-top.space-bottom h2.display-3.text-center.mb-4 About Us // Add new component include ../components/footer.pug section.space-top include ../components/footer.pug - If you run with
gulpcommand, the updates will change immediately. And the physical file will be updated in about.html - Then you can check the result at http://localhost:9000/about
Brand/Project Name
- Open
src/api.json -
Here's bellow the available brand attribute for example Agency THeme
brand": { "agency": { "name": "Agency", "desc": "Maestrolux Agency - HTML5 Bootstrap Landing Page Template", "prefix": "Maestrolux", "footerText": "Maestrolux Agency - All Rights Reserved 2020", "logoText": "Maestrolux Theme", "projectName": "Agency Project", "url": "Maestrolux.ux-maestro.com/agency", "img": "/images/agency-logo.png", "notifMsg": "Donec sit amet nulla sed arcu pulvinar ultricies commodo id ligula" } }, -
Those attribute is used pug as variable object. After run
gulp buildit will affect in HTML ‹head› content and other branding purpose. -
Example use in
src/pug/layouts/document.pugmeta( name="description" content=brand.agency.desc ) meta(property="og:url" content=brand.agency.url) meta(property="og:title" content=brand.agency.projectName) title #{brand.agency.name} - #{pageTitle}
Change Theme
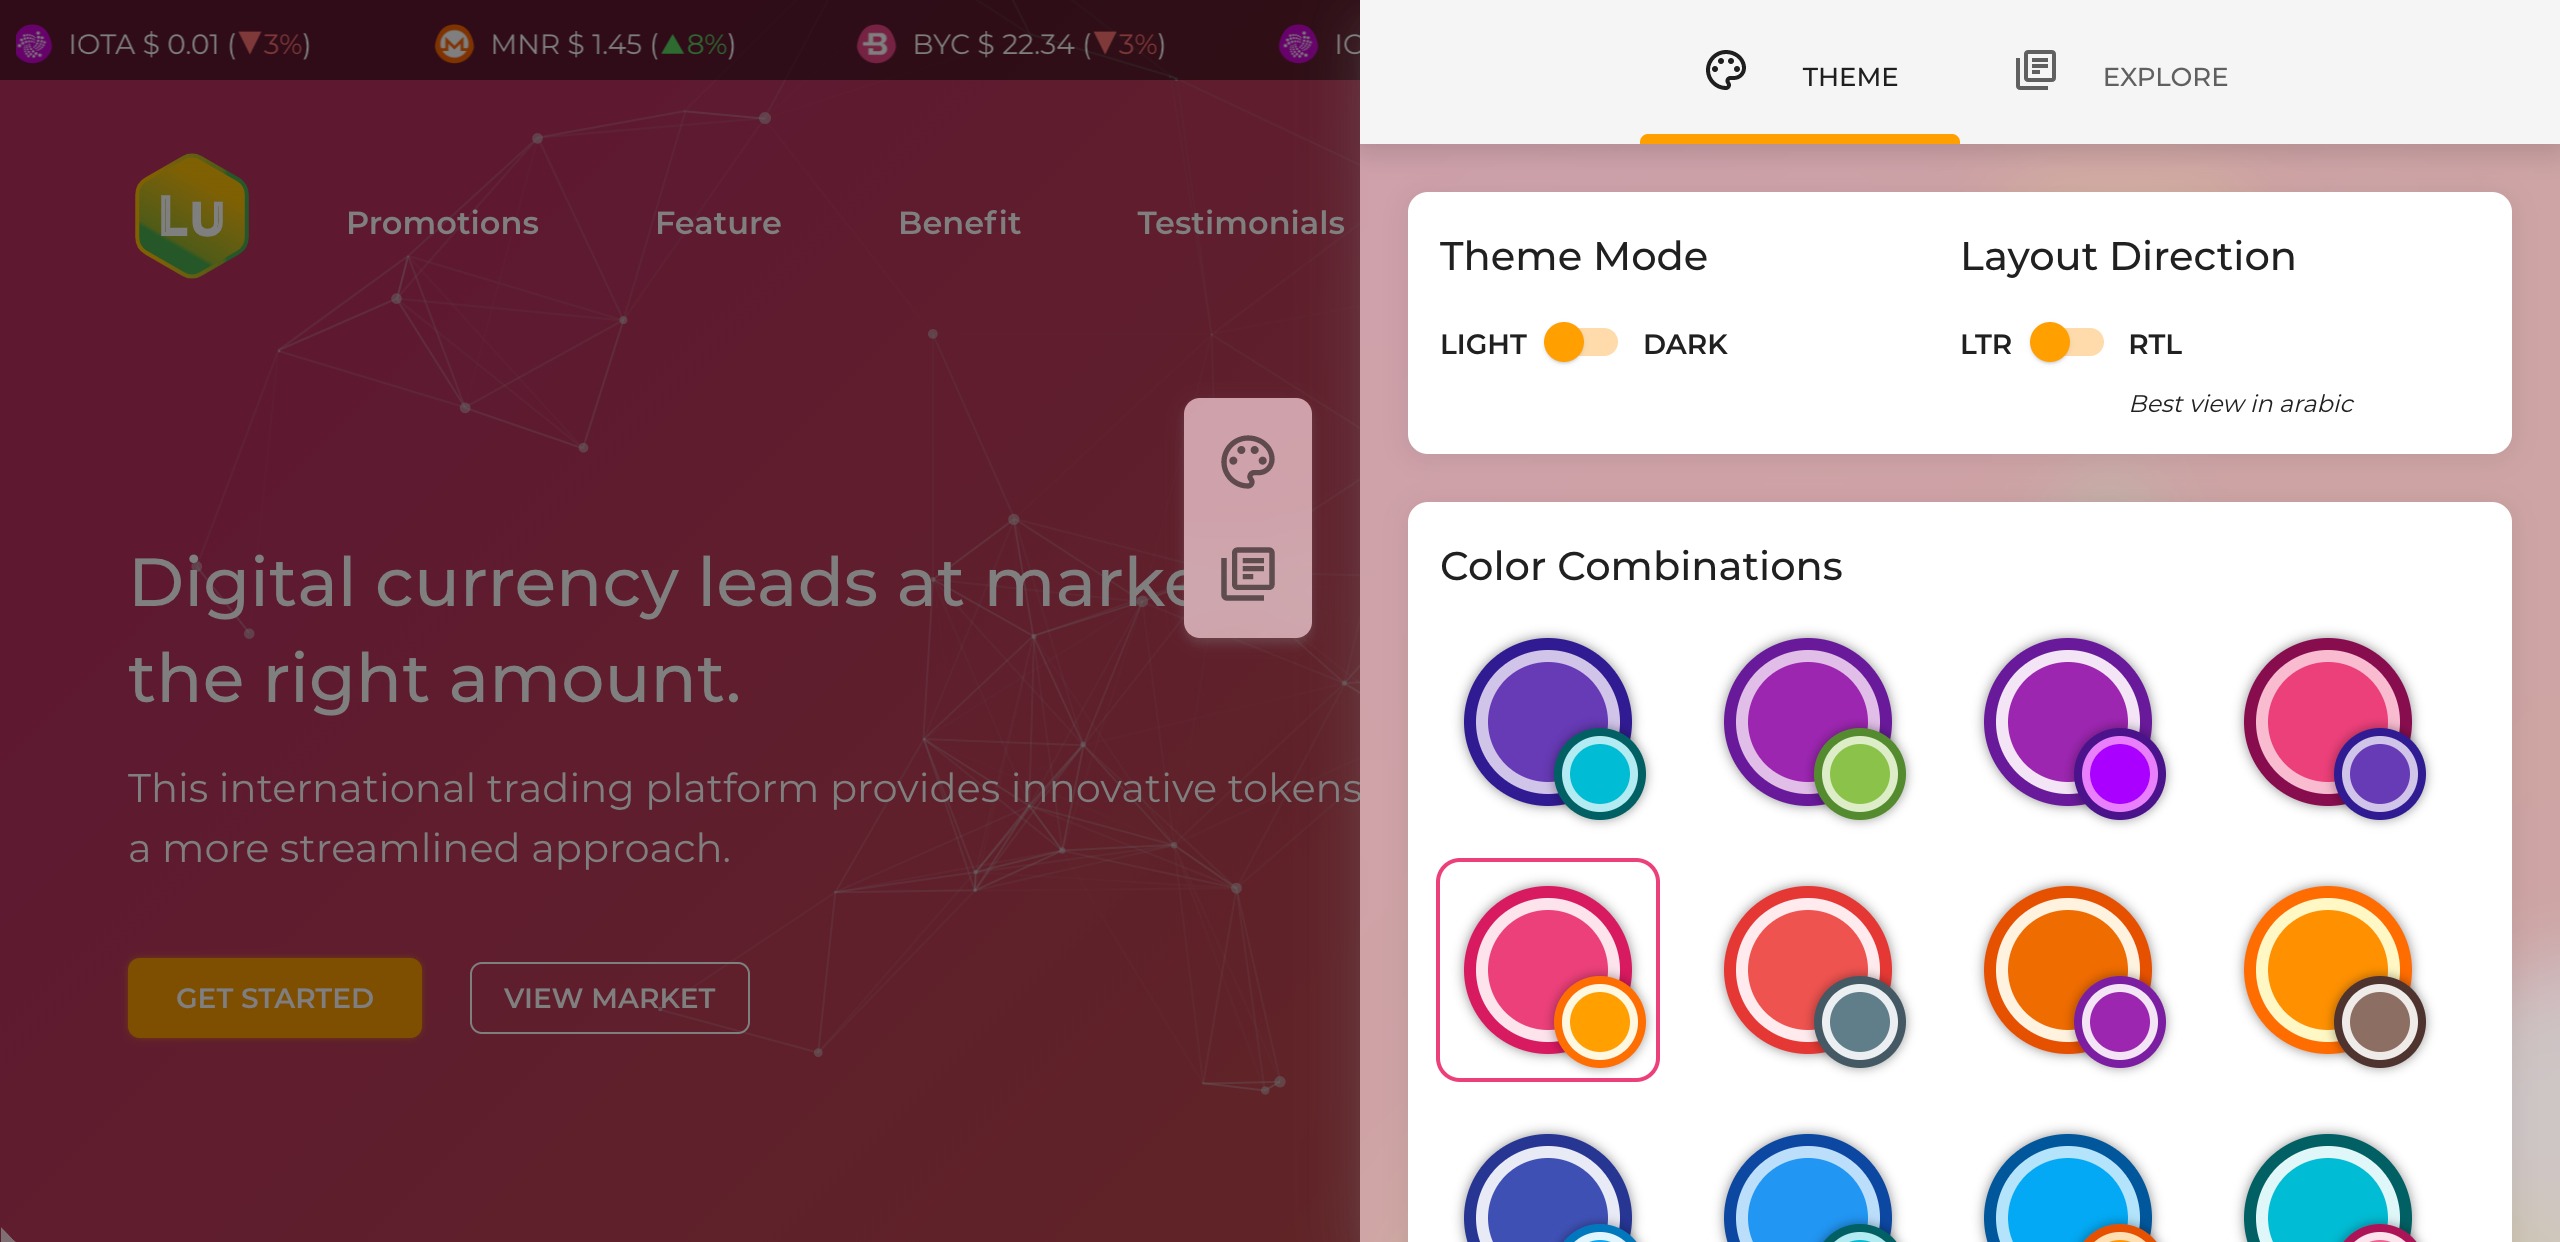
This template has 24 Themes with dark/light appearance. And also support for RTL direction. You can change the layout via theme panel but not permanently. To make the layout permanent just follow this step.
- Open
src/pug/layouts/app.pug - In pug file just change the class name
-
For dark/light mode in
.m-applicationby switch between.theme--darkor.theme--light
- Dark mode:
- Light mode:#app.m-application.theme--dark.transition-page#app.m-application.theme--light.transition-page -
For theme color in
.m-contentby change.[theme-name]-varwith available theme fromsrc/scss/utils/_color-var.scss- In example joker theme color#main-wrap.m-content.passion.joker-var -
Here's the complete code, for joker color in dark mode
// file: src/pug/layouts/app.pug extends ./document.pug block variables block layout #app.m-application.theme--dark.transition-page .loading #main-wrap.m-content.passion.joker-var block content- -
!IMPORTANT
If you change the palette variable, don't forget to update this following files as well
** Crytpo Theme:crypto-theme/src/pug/components/gradient-deco.pug
** Saas Theme:saas-theme/src/pug/components/testimonials.pug
** Hosting Theme:hosting-theme/src/js/banner-animation.js
Make sure the stop-color has same value as in
src/scss/utils/_color-var.scss
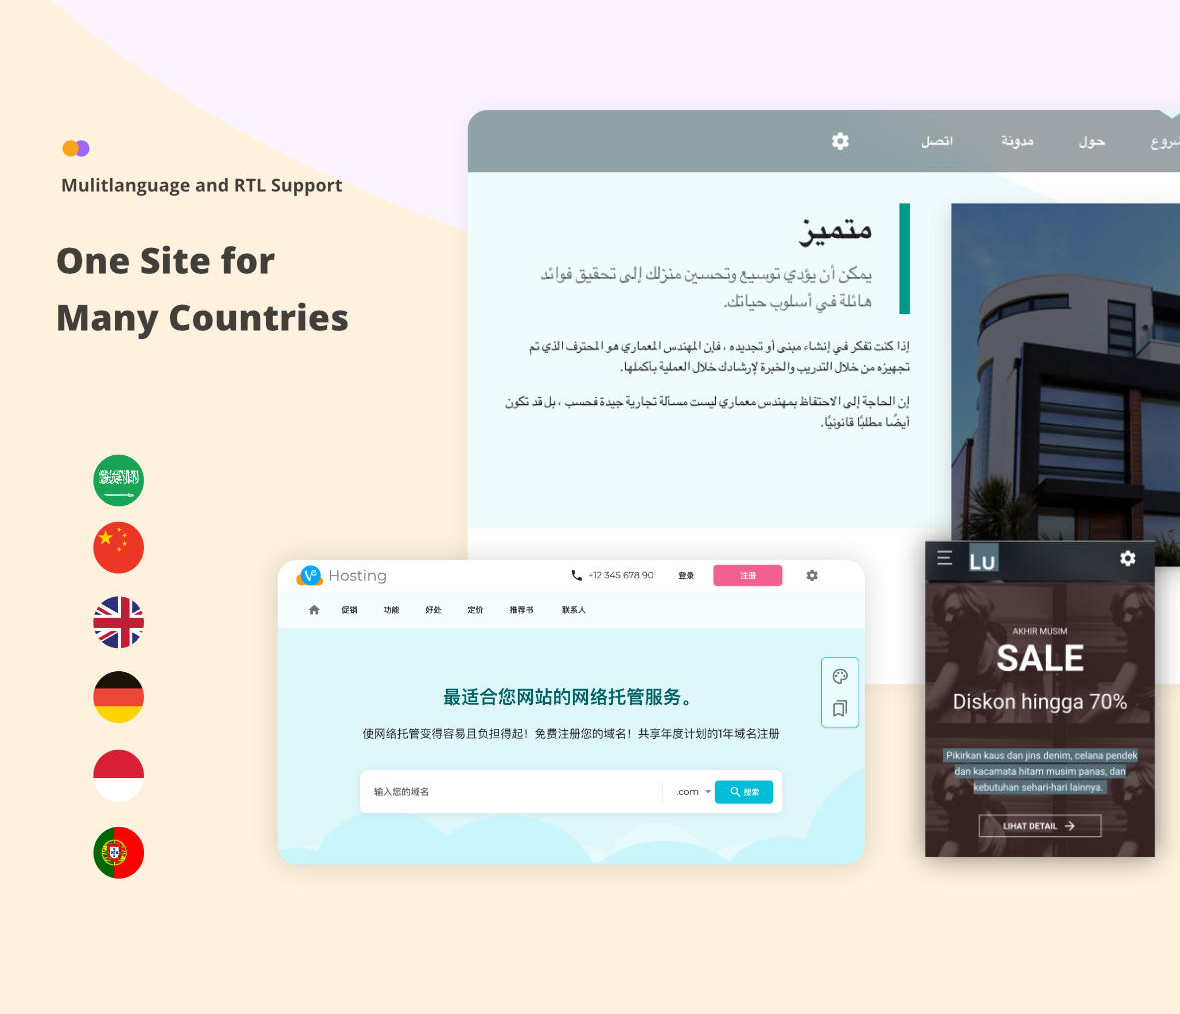
Change Layout direction (LTR & RTL)
This template support for RTL direction. You can change the layout via theme panel but not permanently. To make the layout permanent just follow this step.
- Open
src/pug/layouts/base.pug - In pug file just change the variable
doc_dirto RTL or LTR. And you need to adjust the language variabledoc_langas well. -
Here's the complete code, for RTL
// file: src/pug/layouts/base.pug
- var env = 'dev'

//- HTML attribute
- var doc_lang = 'ar'
- var doc_dir = 'rtl'

//- Assets Path
- var multilang = '../../assets'
- var prod = '../assets'
- var dev = './assets'

//- Use assets path
- var assets = dev
Youtube Config
This template us Youtube API To use this feature we recommend to use https in production. If not there will be some warnings in browser console related cookies and security.
You can disable this feature by open src/api.json in "youtube" object then set set use: false.
"youtube": {
    "use": true
  }
Set Language
-
To set default language
- Open
gulpfile.js - in function
view()change the locales to any locale json file -
In example for Português
locales: 'src/locales/pt.json' -
Full code
function views() {
  var options = {
    i18n: {
      dest: './',
      namespace: '$t',
      localeExtension: true,
      locales: 'src/locales/pt.json'
    },
    data: JSON.parse(fs.readFileSync('./src/api.json'))
  };
  return (
    gulp.src('src/pug/pages/*.pug')
    .pipe(plumber())
    .pipe(pugI18n(options))
    .pipe(prettyHtml({ indent_size: 2 }))
    .pipe(ext_replace('.html', '.en.html'))
    .pipe(gulp.dest(options.i18n.dest))
    .pipe(connect.reload())
  )
}
- Open
-
Add new language
-
By default, gulp-i18n-pug expects your translations to be organised as such by create new language JSON library in
src/locales/[localeCode].json└── src └── locales ├── en.json ├── de.json └── pt.json
-
By default, gulp-i18n-pug expects your translations to be organised as such by create new language JSON library in
-
Write object as text translation
In
src/locales/pt.json"movie_landing": { "header_login": "Conecte-se", "header_register": "registro" } -
Put the messages to the Pug file
- Pick one of sample Components with cointaining text, i.e
/componens/header/header.pug - Basically the message return is String. And next step is replace/add every string in components
-
Add a translated text inside components
h4.use-text-title2 #{$t.movie_landing.header_login} h4.use-text-title2 #{$t.movie_landing.header_register} - Just run
gulp buildif it's for default language. The translated result will in root directory. -
Or for not default language, first please change variable
assetsinsrc/pug/layouts/base.pug
Then please run//- Available env: dev, prod, and node_modules - var env = 'dev' //- HTML attribute - var doc_lang = 'en' - var doc_dir = 'ltr' //- Assets Path - var multilang = '../../assets' - var prod = '../assets' - var dev = './assets' //- Use assets path - var assets = multilang // Change thisgulp translatecommand in console. The translated result will available inmultilang/pt/*.html
- Pick one of sample Components with cointaining text, i.e